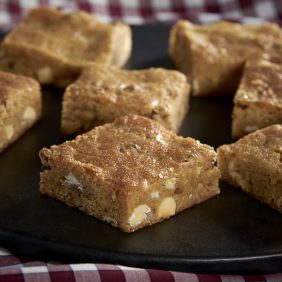
These little snacks are healthy, simple to make (there’s no baking involved) and surprisingly delicious. I’ve had the recipe kicking around in my “to-make” list for a while now and I finally decided to try it. I’m still amazed that they only use four ingredients. As I’ve often found, sometimes the simplest recipes are the best. These remind me a tiny bit of Reese’s Peanut Butter cups, although not quite as sweet, and not as artificial. As much as I love Reese’s – they’re my all-time favorite candy – I think I like these more. I keep these in the refrigerator which gives them a nice consistency and they taste good cold.
This recipe uses dates as a sweetener. I’m not a huge fan of dates, but in this recipe you don’t taste them. They just give the bars some sweetness and they also provide the glue that holds them together.
These are a great mid-afternoon snack. They’re gluten-free too!
Peanut Butter and Chocolate Energy Bars
Recipe from The Kitchn1 1/2 cups unsalted peanuts
1 1/2 cups pitted dried dates, preferably Medjool
1/4 teaspoon salt
1 cup roughly chopped dark chocolate or mini chocolate chips, dividedLine an 8-inch x 8-inch baking pan with parchment paper; let the ends of the paper hang over the edge.
Optional step: For deeper, more peanuty flavor, roast the peanuts before making the bars. Preheat the oven to 350°F. Spread the peanuts on a baking sheet and roast until fragrant and golden, 8 to 10 minutes, stirring once or twice during roasting. Allow to cool slightly before continuing with the recipe.
Combine the peanuts, pitted dates, and salt in the bowl of a food processor. Pulse 5 to 6 times to break up the ingredients. Remove the lid and break apart any clumps of dates. Replace the lid and process continuously for 1 to 1 1/2 minutes until the ingredients begin to clump together. When you remove the lid, the ingredients may still look a little crumbly (like couscous), but should hold together when pressed in your fist.
Sprinkle 1/2 cup of the chocolate over the peanut-date mixture (reserve the rest of the chocolate). Replace the lid and pulse just 3 or 4 times to incorporate the chocolate.
Transfer the mixture to the baking dish and press it firmly down with the palm of your hand or the bottom of a drinking cup. Melt the remaining 1/2 cup of chocolate chips in 15-second bursts in the microwave, stirring between each burst. Pour the melted chocolate over the bars and use a spatula to spread it into an even layer. If you find there’s not enough chocolate to easily spread, melt a little more chocolate if you have it.
Cover the bars and refrigerate for at least an hour or overnight, until the bars are firm and the chocolate is set. Using a sharp knife, cut the bars into 16 pieces. Keep refrigerated for firmer texture or unrefrigerated for a softer texture. Bars will keep for about a month refrigerated or for about a week if unrefrigerated.
Yield: 16 bars
One year ago: Crispy Chicken and Apple Salad
Two years ago: Beets in a Sweet Thyme Balsamic Glaze
Three years ago: High Tea Lemon Cookies
Four years ago: Cinnamon Applesauce Muffins
Five years ago: Lemon Risotto
Six years ago: Lemon Cake
 Print This Recipe


Yum! I need to make these. T takes a Larabar for snack everyday!
You should definitely make them. They’re delicious.