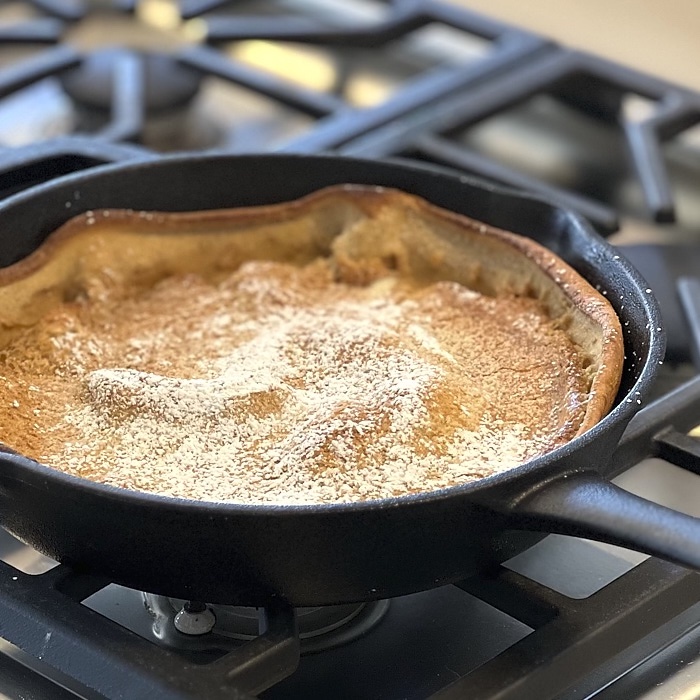
Gingerbread Spice Dutch Baby
Today was the first day that really felt like fall in NYC. It was nippy during the day and quite chilly this evening. I love this weather, and cold weather…
0 Comments
November 26, 2023
Today was the first day that really felt like fall in NYC. It was nippy during the day and quite chilly this evening. I love this weather, and cold weather…
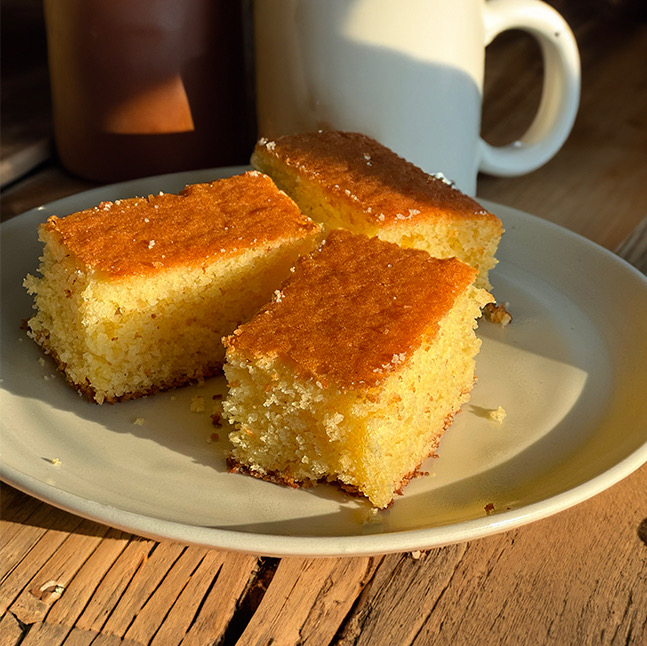
This is my new favorite corn bread recipe. It's quick and easy. I made it this summer, then again on Halloween and another batch today which my boys devoured.. I…
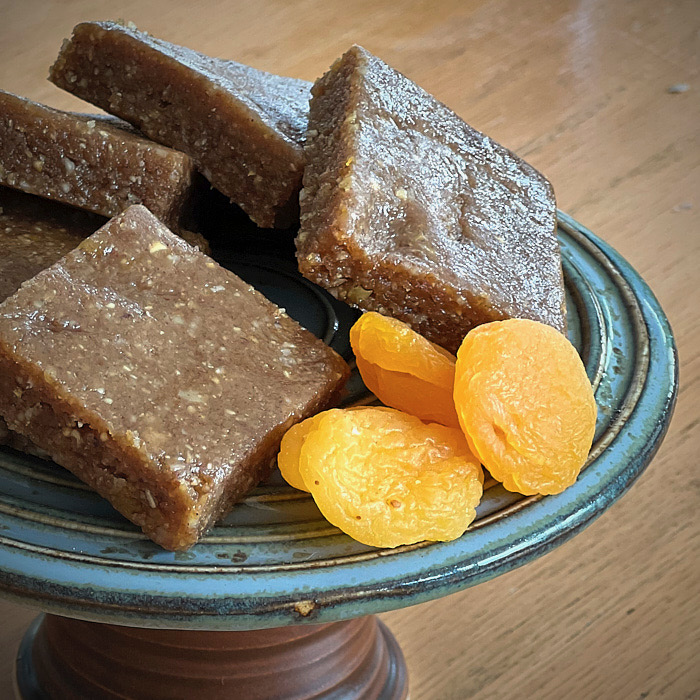
aprico I love a healthy snack in the afternoon, and my typical go-to snack is an Rx bar. Now that I've found this recipe, I certainly won't be buying as…
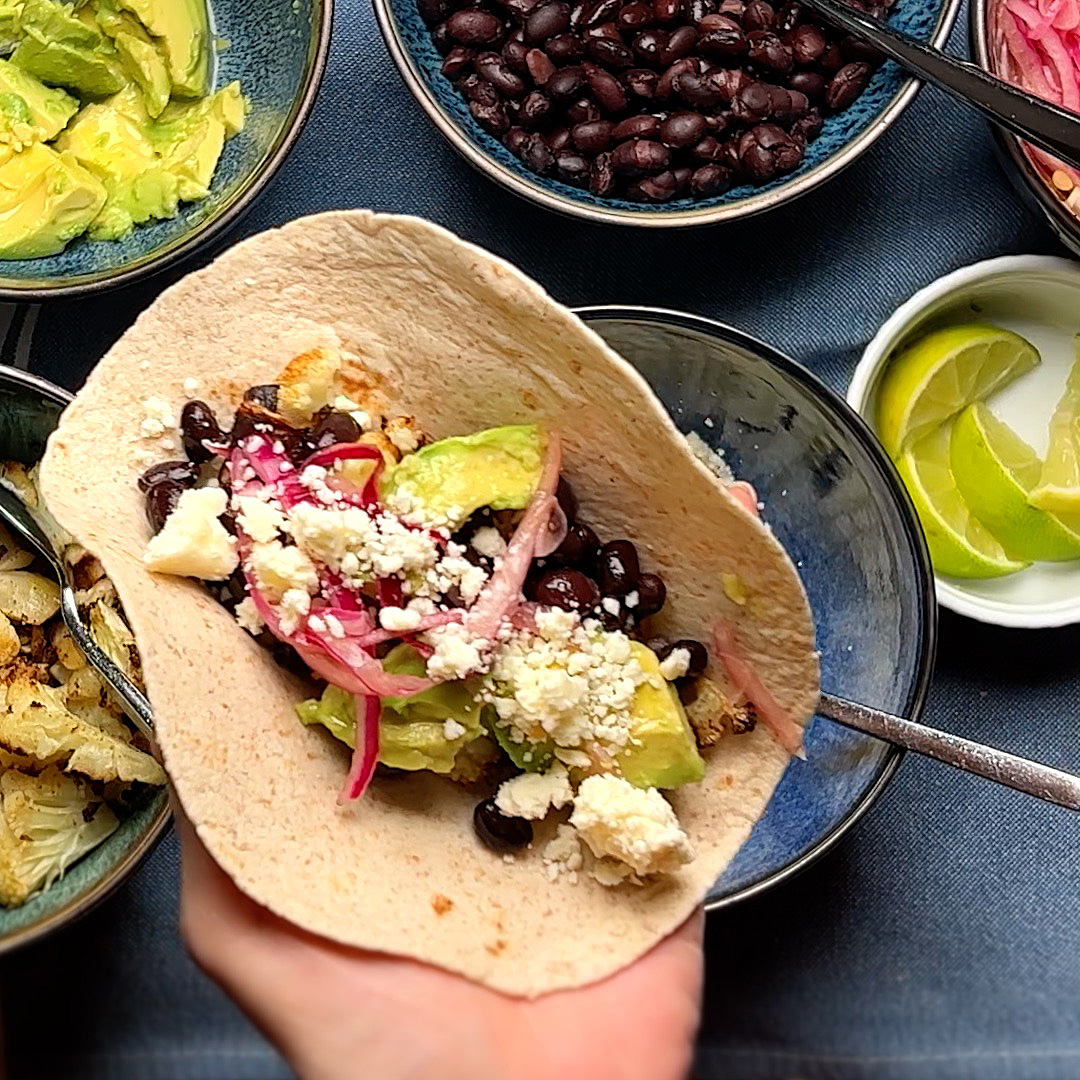
These cauliflower tacos are a perfect weeknight vegetarian meal. They're a healthy, tasty alternative to meat filled tacos and since two of my sons are vegetarians, we eat a lot…
I haven't posted in a while. Even with all four boys in college, things still seem to be busy, but in a different way from when they were young. I…
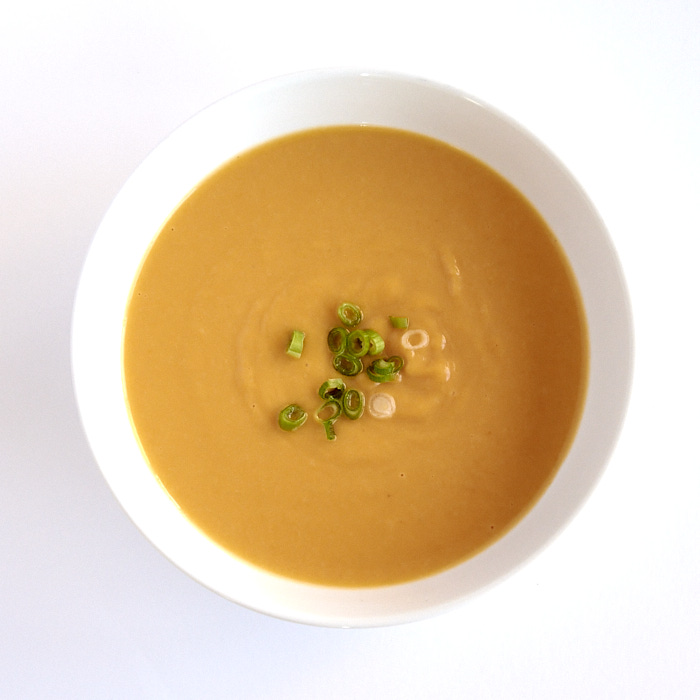
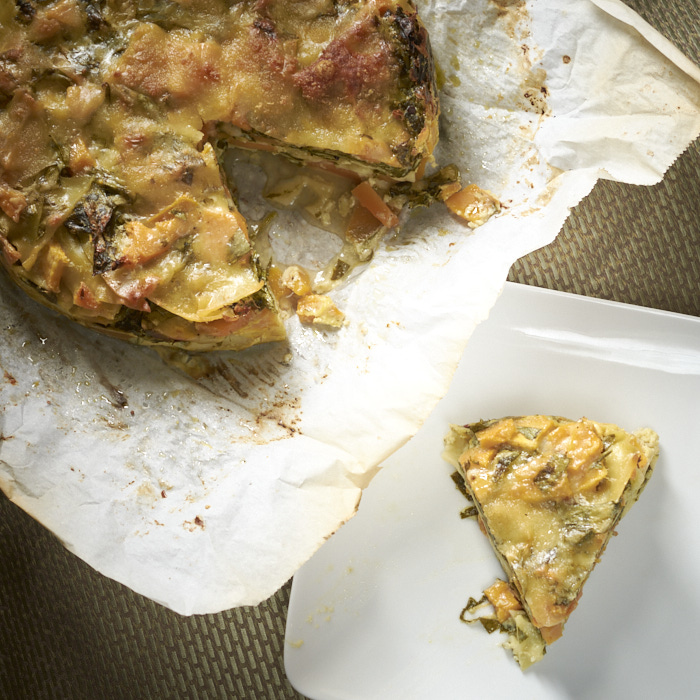
This is hands-down the best soup I have had in a very long time. It's like velvet when you eat it and it's one of those recipes where the total…
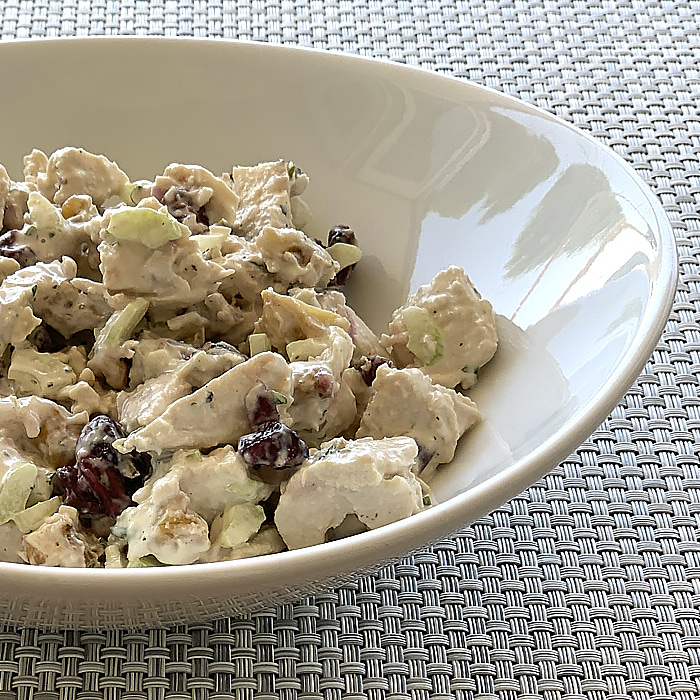
Although we eat a primarily plant-based diet these days, one of my boys is a carnivore so I buy and cook meat for him. When he was home for a…
Every now and then we watch a show called Shark Tank and wonder why we haven't come up with some of the ideas that we see on TV. Some seem…
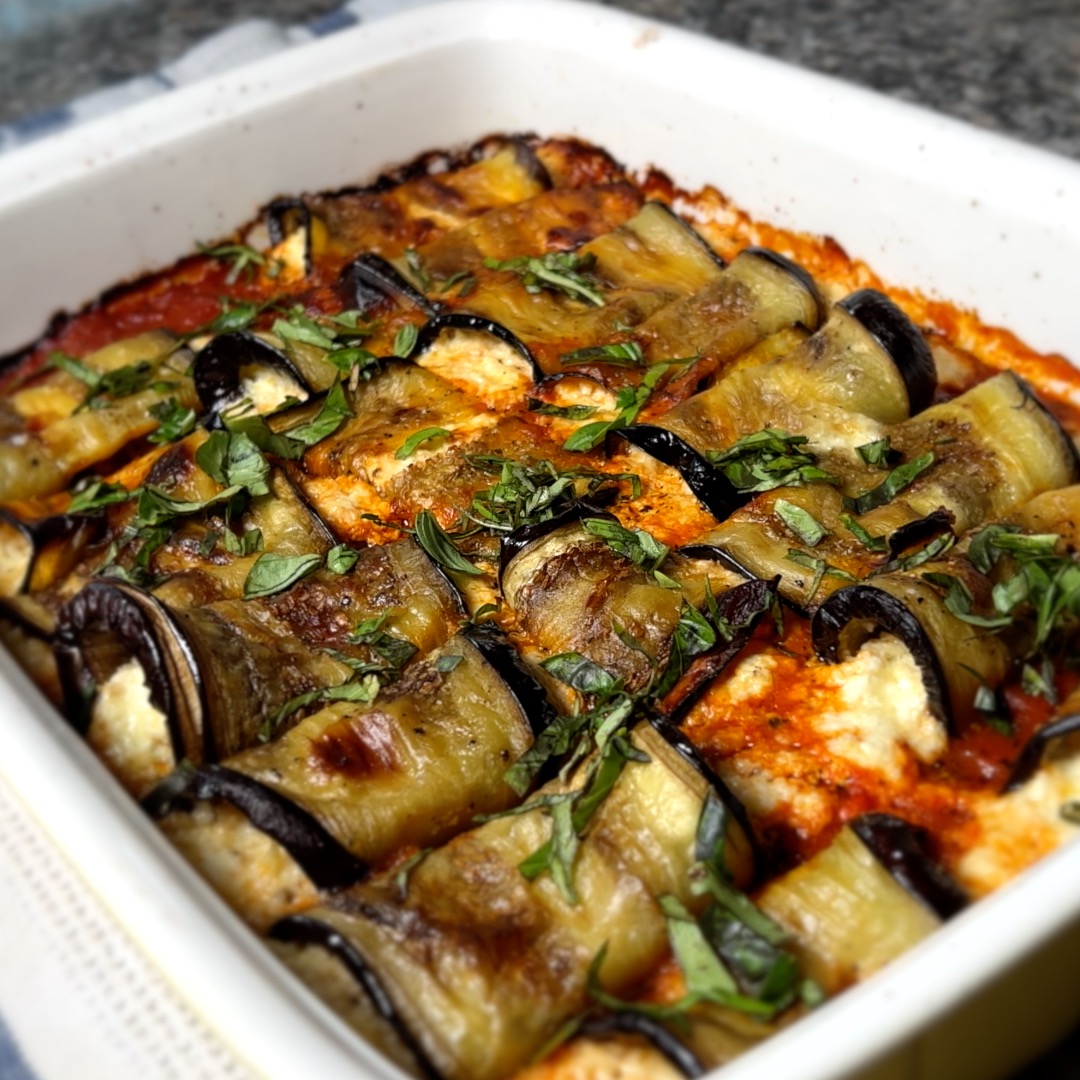
This is one of my new favorite recipes. I've received rave reviews every time I've made it. The best part of the recipe is that you put all the ingredients…
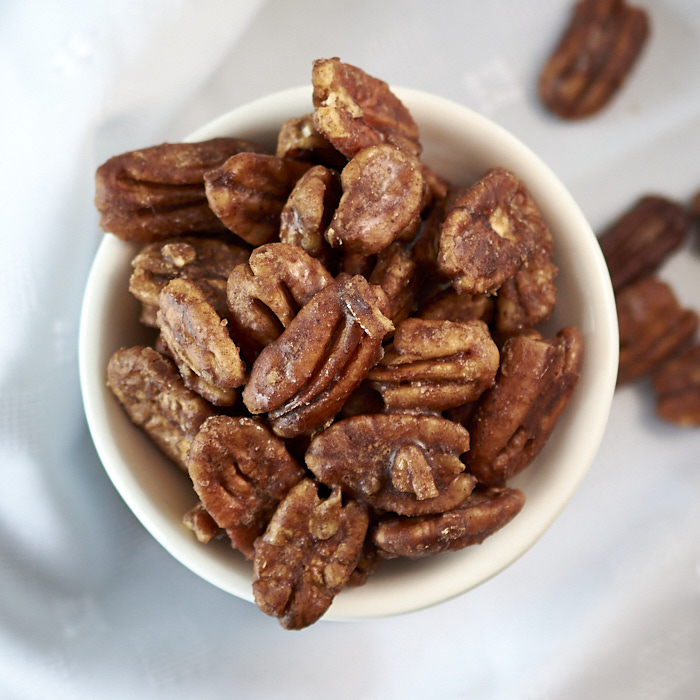
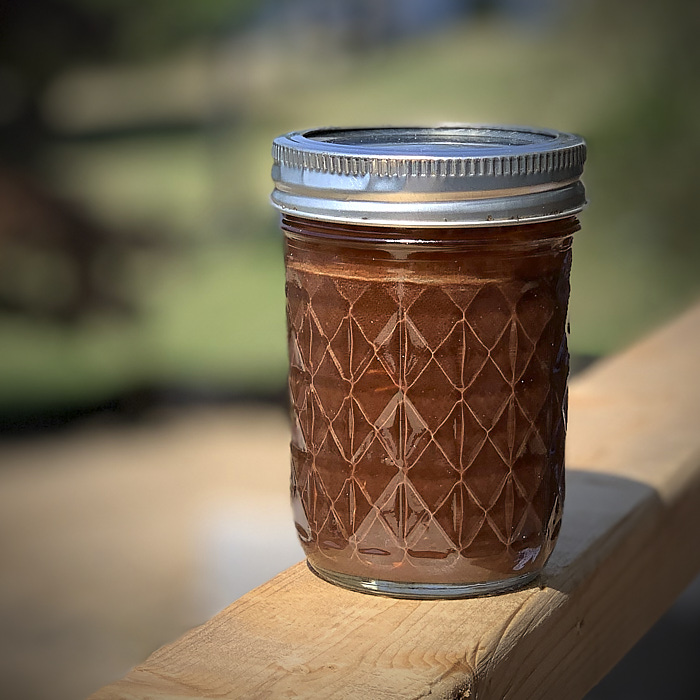
One of my favorite things to make around the holidays is candied nuts. I bring a big batch to our family Christmas gathering in Gloucester each year. Unfortunately, due to…