Want to be the hit of your next cookie exchange? Make these cookies.
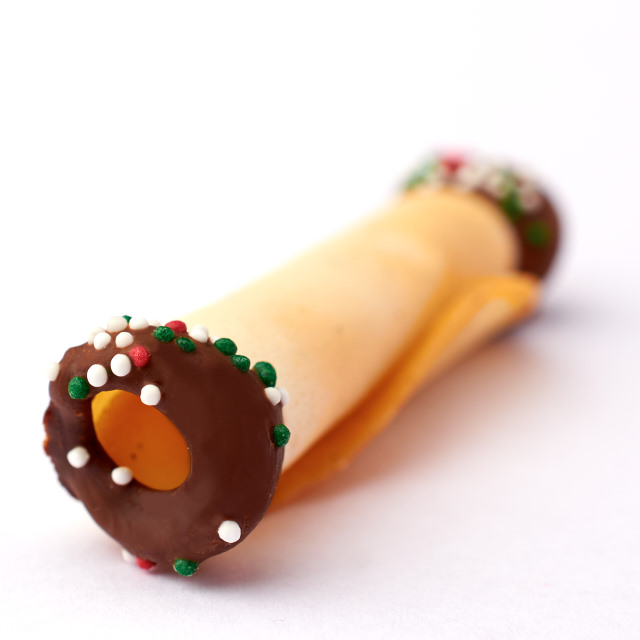
I usually post recipes that I find to be fairly easy to make. It’s not that these cookies aren’t easy to make, but be warned, they take a little time because you can only make a couple at a time. Each one has to be rolled individually around a chopstick, and you have to roll them pretty quickly once you take them out of the oven or they’ll start to harden and you’ll have to put them back in again. All that said, these are fun to make if you’re in a baking mood, and everyone who tried them loved them. Actually, quite a few people thought I bought them from a bakery. They couldn’t believe I made them myself.
The nice thing about this recipe is that it doesn’t call for any fancy ingredients. If you’re a baker, you probably have everything you need in your pantry.
When you make the batter, don’t be surprised when you see how liquidy it is. Te trick to these cookies is to not make too many at a time. I started with four on a tray and found that I still had to put the tray back in the oven to reheat the cookies, because I couldn’t roll them fast enough before the edges started to harden. I got better with practice, but I never managed more than four on a tray at a time. The good news is that easy tray only take 6-8 minutes to cook.
The boys enjoyed making these with me, although they wished they had fingers made of asbestos. Many hands for rolling makes the whole process go much more quickly.
Cigarettes Russes
Recipe from Smitten Kitchen who adapted it from Gourmet, March 20023 large egg whites
3/4 cup (90 grams) confectioners sugar
1/2 cup (65 grams) all-purpose flour
1/3 cup (5 1/3 tablespoons or 75 grams) unsalted butter, melted
1/4 teaspoon table salt
Seeds from a 2-inch segment of vanilla bean, or 1/2 teaspoon vanilla extract or paste
4 ounces (115 grams) bittersweet chocolate, finely chopped
Sprinkles or other decorations (optional)Heat oven to 350°F. Line two baking sheets with silicone baking mats. Grab a bunch of clean pencils or chopsticks.
In a medium bowl, combine all ingredients with a whisk. Working in small batches to begin, drop 1 level teaspoon of batter for each cookie at least 3 inches apart on your prepared sheet. Using a small offset spatula or spoon, spread each into a thin 3-inch/7.5-cm circle (circles don’t need to be perfect).
Bake cookie sheets, one at a time, until edges are golden, about 6 to 8 minutes, but you should closely watch your first batch in case your oven bakes things more quickly and adjust the baking time for remaining batches if necessary. Slide a small offset spatula under the first cookie and quickly roll the loosened cookie around a pencil or chopstick into a tight cylinder. Be warned – they will be hot! Transfer cookie-wrapped pencil to cooling rack. Repeat with remaining cookies and additional pencils. If they start cracking at the edges or become too brittle because they’ve cooled too much (this will probably happen after every two to three cookies), return the cookie sheet to the oven for 20 to 30 seconds to soften them again. Do this as many times as needed. Cookies can be slid off their pencils almost immediately, but it’s even easier if you give them a full minute or more to cool. Leave cookies to fully cool on rack; repeat process with remaining batter.
Melt chocolate in a small saucepan or microwave until half-melted. Stir until remaining chunks melt. When cookies are cool, working with 1 cookie at a time, dip 1/4 inch of tip of one or both ends into melted chocolate, letting excess drip off, then rolling them in sprinkles (if desired) and place on a parchment- or wax-paper-lined baking sheet. Let stand at room temperature until chocolate sets.
Yield: 2 to 3 dozen cookies
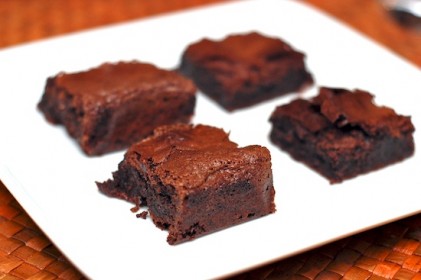
One year ago: Chocolate Ricotta Muffins
Two years ago: Chocolate Mint Crackle Cookies
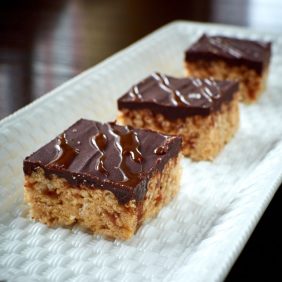
Three years ago: Peppermint Cream Squares
Four years ago: Pomegranate Berry Smoothie
Five years ago: Clementine Vanilla-Bean Quick Bread
Six years ago: Peanut Butter and Jam Jewels
Seven years ago: Lemon Bars
 Print This Recipe